Setting up User Profile
Engage allows both students and instructors to set up a detailed user profile including contact information, personal interests, and a profile picture. This guide will show you how to initially configure your user profile. You can go back and change user settings at any point.
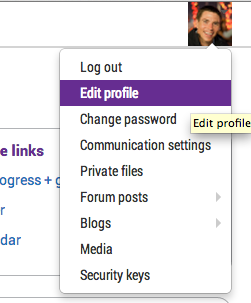
- Log in to Engage and click on the dropdown menu from your user picture on the top right hand of the page. Click edit profile.
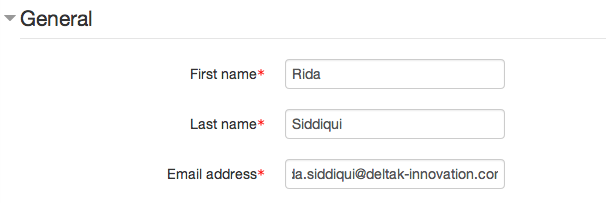
- In the General area, fill in information such as name, email address, and location
- You can also manage email notifications and display settings in the General area. Via Email display, you can control who sees your email address. Choose to hide it from everyone, make it visible to everyone, or only allow users enrolled in your course to view your email address.

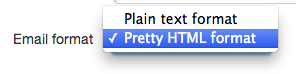
- Choose your Email format in the next box. Plain text is how email shows up on your mobile devices-without any formatting or images. It is recommended that you choose Pretty HTML format.
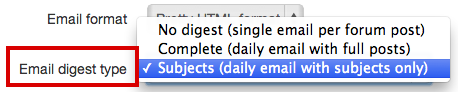
- Email digest controls the manner in which you receive email notifications about students' forum posts.
- No digest-receive an email for every individual post students make in each forum
- Complete-receive one email at end of day with all student posts in their entirety
- Subjects (RECOMMENDED)-receive one email end of day with only the subjects of student posts. Email will also contain direct links to student posts in Engage.
- Forum auto-subscribe allows you to choose which forums to subscribe to/receive notifications for. It is recommended that you choose "No, don't automatically subscribe me to forums." This will ensure that you are not added to every single forum you post to. For example, if you post to "Ask the instructor" and "Student Lounge," you can choose to subscribe to one, both, or neither.

- Forum tracking allows you to keep track of new student posts for efficient grading. It is recommended that you choose, "Yes: highlight new posts for me."

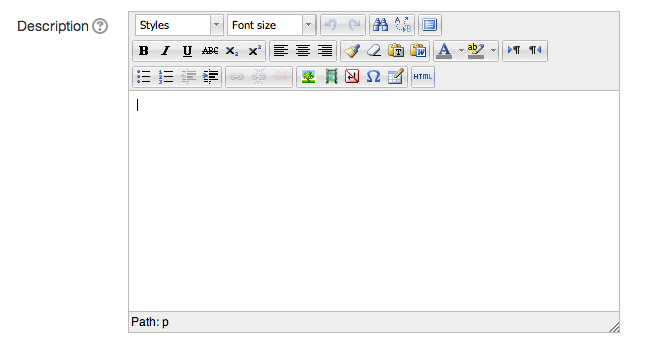
- The Description box enables you to enter some text about yourself, which will then be displayed on your profile page for others to view.
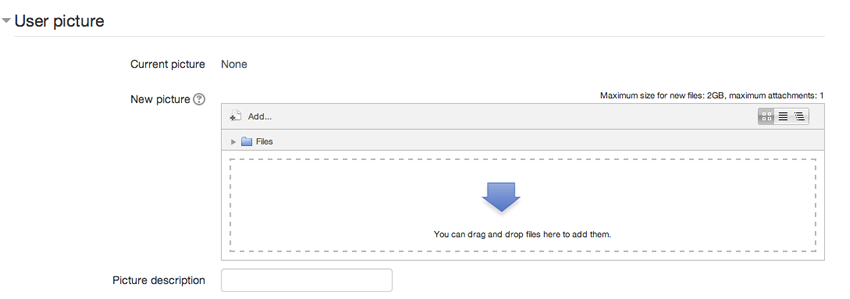
- Upload a user picture to be displayed on your profile next to your name. For detailed instructions, view the tutorial titled, "Uploading User Picture."
- If you wish to include your interests in your profile, enter them in the interests area, separated by commas. Under the Optional area, enter additional communication information such as a Skype ID. For detailed instructions on how to enable Skype in Engage, view the tutorial titled, "Enabling Skype Settings."
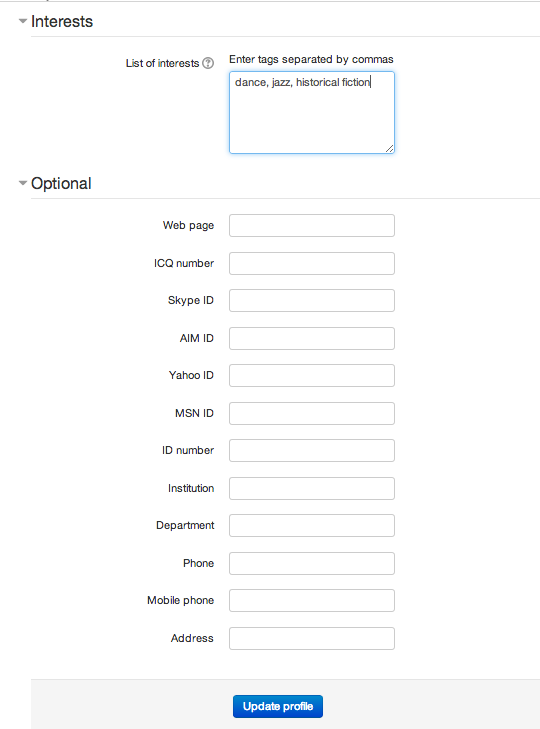
- Click Update Profile to save changes.